How to Fix an Unsupported Cartridge Error on a Lexmark Printer
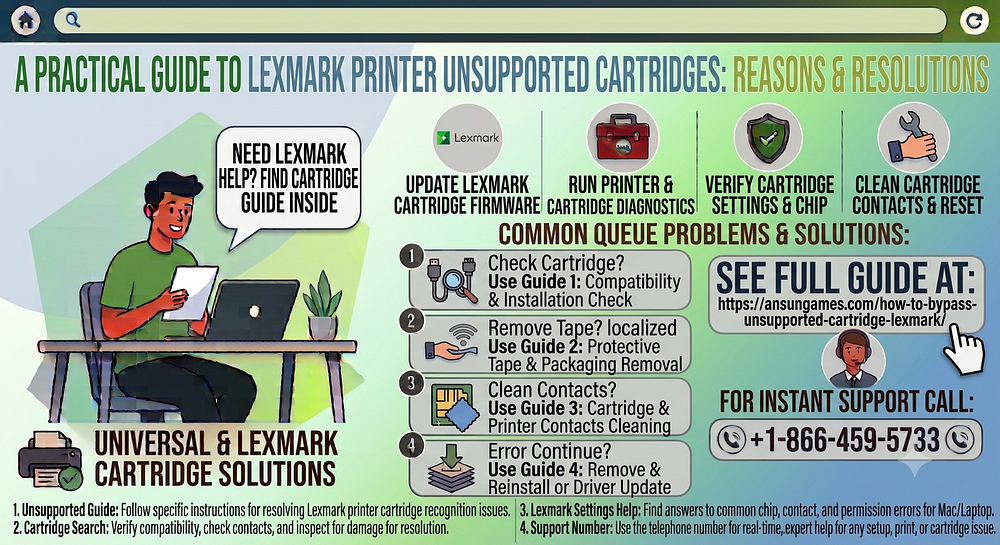
Seeing an “Unsupported Cartridge” message on your Lexmark printer can be frustrating, particularly when you need to print something urgently. This warning usually means the printer is unable to recognize or communicate with the installed ink or toner cartridge. In most situations, the problem is linked to an incompatible cartridge, incorrect installation, dirty electrical contacts, outdated printer software, or a temporary communication issue.
Fortunately, this error can often be resolved by checking the cartridge and printer instead of attempting to bypass the printer’s built-in cartridge verification.
Why Does a Lexmark Printer Display an Unsupported Cartridge Error?
Before allowing a print job, Lexmark printers verify the installed cartridge. If the verification process fails, the printer displays an unsupported cartridge message.
Some of the most common causes include:
- The cartridge is incompatible with your printer model.
- The cartridge has not been installed properly.
- Protective tape or packaging is still attached.
- Dirty or contaminated electrical contacts.
- A defective or damaged cartridge.
- Outdated printer firmware.
- Temporary communication problems.
- Dust or debris inside the cartridge compartment.
Identifying the exact cause helps determine the most effective solution.
Verify Cartridge Compatibility
Before performing additional troubleshooting, make sure the cartridge is designed for your specific Lexmark printer model.
Installing a cartridge that is not compatible can prevent the printer from recognizing it correctly and trigger the unsupported cartridge warning.
Always compare the cartridge model number with your printer’s supported cartridge list before installation.
Make Sure the Cartridge Is Installed Correctly
Improper installation is one of the leading reasons cartridges fail to be detected.
Open the printer and inspect the cartridge carefully.
Confirm that:
- The cartridge is fully inserted.
- It clicks securely into position.
- It is placed in the correct slot.
- The cartridge latch closes completely.
A cartridge that is not properly seated may not establish a proper connection with the printer.
Remove All Protective Packaging
Most new cartridges include protective tape, clips, or plastic covers.
If any of these protective materials remain attached, the printer may not recognize the cartridge.
Carefully inspect the cartridge and remove every piece of protective packaging before reinstalling it.
Restart the Printer
Temporary software or communication glitches may interfere with cartridge recognition.
Turn the printer off, wait for a few moments, and then power it back on.
Restarting the printer refreshes its internal system and may clear temporary errors.
Clean the Cartridge Contacts
The cartridge communicates with the printer through small metal electrical contacts.
Dust, fingerprints, ink residue, or debris on these contacts can interrupt communication.
Carefully inspect both the cartridge contacts and the matching contacts inside the printer, cleaning them gently without causing damage.
Inspect the Cartridge for Physical Damage
Carefully examine the cartridge for any visible signs of damage.
Look for:
- Cracked housing
- Broken plastic parts
- Bent components
- Ink or toner leakage
- Damaged electrical contacts
If the cartridge appears damaged, replacing it may be necessary.
Update the Printer Firmware
Firmware controls many of the printer’s internal functions, including cartridge recognition.
Installing the latest firmware may improve:
- Cartridge compatibility
- Printer stability
- Cartridge detection
- Overall printer performance
Restart the printer after the firmware update has been completed.
Update the Printer Driver
Keeping the printer driver up to date helps improve communication between your printer and computer.
Updated drivers can provide:
- Better compatibility
- Improved performance
- Greater reliability
- Enhanced print quality
Restart your computer after installing updated drivers.
Remove and Reinstall the Cartridge
If the error remains, remove the cartridge and install it again carefully.
Ensure the cartridge locks firmly into place before closing the printer cover.
A proper installation often restores normal cartridge detection.
Clean the Cartridge Compartment
Dust and debris inside the cartridge area can prevent proper communication.
Carefully clean the accessible areas around the cartridge compartment.
Keeping this area clean helps improve long-term printer reliability.
Perform Regular Printer Maintenance
Routine maintenance helps minimize cartridge recognition problems.
Good maintenance practices include:
- Cleaning the printer regularly.
- Checking cartridge installation.
- Updating printer software.
- Installing firmware updates.
- Inspecting cartridges before use.
Regular maintenance helps keep the printer operating efficiently.
Tips to Prevent Unsupported Cartridge Errors
Following these practices can help reduce cartridge-related issues in the future.
Use Compatible Cartridges
Always install cartridges designed specifically for your Lexmark printer model.
Install Cartridges Carefully
Ensure every cartridge is fully inserted and locked into place.
Keep the Printer Clean
Regular cleaning prevents dust from interfering with cartridge detection.
Avoid Touching Electrical Contacts
Handle cartridges by the sides to prevent contamination of the contacts.
Keep Printer Software Updated
Install software and firmware updates regularly to improve compatibility.
Store Cartridges Properly
Keep unused cartridges in a cool, clean, and dry location until they are needed.
Common Mistakes to Avoid
Avoid these common errors when installing or replacing cartridges.
- Installing the wrong cartridge model.
- Leaving protective tape attached.
- Touching the electrical contacts.
- Forcing a cartridge into position.
- Ignoring firmware updates.
- Using damaged cartridges.
- Allowing dust to accumulate inside the printer.
- Ignoring cartridge warning messages.
Avoiding these mistakes helps improve printer performance and reliability.
FAQs
Why does my Lexmark printer display an unsupported cartridge message?
This warning usually appears when the cartridge is incompatible, installed incorrectly, has dirty contacts, or cannot be properly recognized by the printer.
Can dirty cartridge contacts trigger this error?
Yes. Dust, fingerprints, or residue on the cartridge contacts can interrupt communication between the cartridge and the printer.
Should I install firmware updates?
Yes. Updating the firmware can improve cartridge recognition, increase printer stability, and enhance overall performance.
Why should I remove and reinstall the cartridge?
Reinstalling the cartridge ensures it is seated correctly and may restore proper communication with the printer.
How can I reduce the chances of unsupported cartridge errors?
Use compatible cartridges, install them carefully, keep the printer clean, avoid touching the electrical contacts, update printer software regularly, and store cartridges correctly.
Conclusion
An unsupported cartridge error on a Lexmark printer is commonly caused by incompatible cartridges, incorrect installation, dirty electrical contacts, damaged cartridges, outdated firmware, or temporary communication problems. Instead of trying to bypass the printer’s cartridge verification system, it is more effective to identify the root cause and correct it. Following proper installation procedures, maintaining the printer, and keeping its software up to date can help ensure reliable printing and reduce future cartridge-related issues.


Comments
Post a Comment